

Installation
This guide will walk you through the installation process of the Bazaro script on your local server or cPanel hosting. Follow the steps carefully to ensure a successful setup.
System Requirements
You will need to make sure your server meets the following requirements:
| Requirement | Minimum Version |
|---|---|
| PHP | >= 8.2 |
| BCMath PHP Extension | Required |
| Ctype PHP Extension | Required |
| Fileinfo PHP Extension | Required |
| JSON PHP Extension | Required |
| Mbstring PHP Extension | Required |
| OpenSSL PHP Extension | Required |
| PDO PHP Extension | Required |
| PHP GD Extension | Required |
| Tokenizer PHP Extension | Required |
| XML PHP Extension | Required |
Recommended PHP Configuration Limits
max_execution_time = 180
memory_limit = 128M
post_max_size = 64M
upload_max_filesize = 32M
max_input_time = 60
max_input_vars = 3000
Local Installation Steps
Follow these steps in order. Each one builds on the previous.
Creating Database using phpMyAdmin
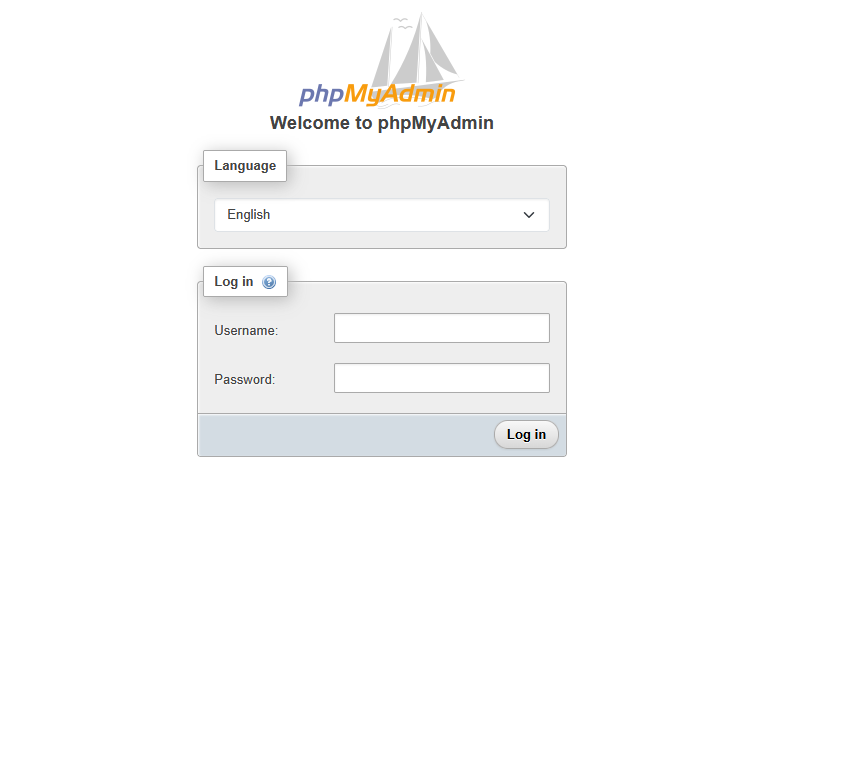
Login to your phpMyAdmin panel using the login information. You will see an interface like this:

Create a new database
Create a new database by entering a name and clicking the "Create" button.

Add Files to Local Server Folder
Next, add the project files to your local server's root folder (e.g., htdocs for XAMPP, www for WAMP). You can do this by copying the files directly or by cloning the repository if you have Git installed. Make sure to place the files in a subdirectory if you want to access it via http://localhost/your-folder.
Download Script
Download the latest version of the script from the official website.
Extract the downloaded ZIP file
Extract the contents of the downloaded ZIP file to a folder on your local machine. You can use built-in extraction tools or third-party software like WinRAR or 7-Zip.

Copy files to local server folder
Copy the main_files folder to your local server's root directory (e.g., htdocs for XAMPP, www for WAMP).
Running the Installer (Local Server)
Follow these steps to run the installer on your local server.
Welcome Screen
Go to your local server URL (e.g. http://localhost/your_project). You will see the welcome page of the installer. Click on the "Begin Installation" button to continue.

Requirements Check
You will see the requirements page. If your server meets the requirements, you will see a green tick mark. If not, you will see a red cross mark. You need to fix the issues before proceeding.

Database Setup
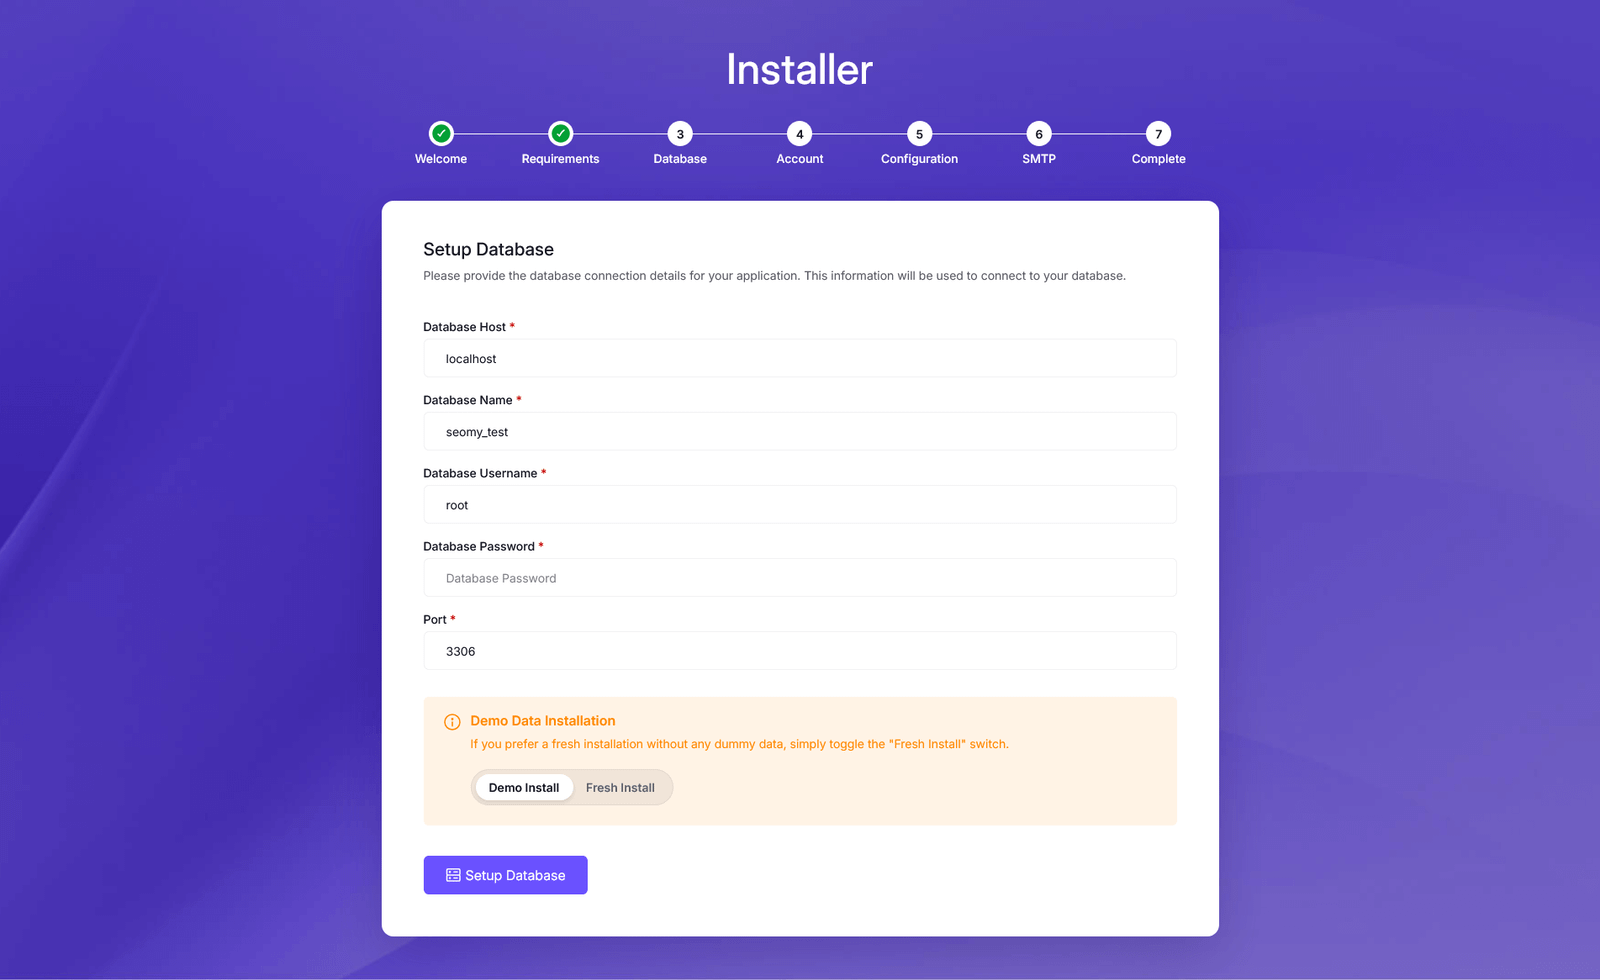
Enter your database credentials. You need to enter the database name, username, and password that you created earlier. Click on Setup Database button to test the connection. Also check the database host and port. You will see a warning about demo data installation. If you want to setup demo data select demo install, or if you want a fresh install select fresh install. Then click Setup Database.
Existing Tables Warning
When you click the Setup Database button, the system will check the database connection and attempt to set up the database. If existing data or tables are found, a warning message will appear. In that case, you can either create a new database or reset the current one. To reset the existing database, select the Yes, I want to clear the database checkbox. If the database is empty, it will proceed to create the necessary tables and insert either demo or fresh data, based on your selection.

Account Setup
After the database setup is complete, you will be redirected to Account Setup page. Enter your data and create a super admin for your site.

App Configuration
Now setup your app name and timezone for your site. After that click on Set Configuration button.

Mail Setup
Now you will see the Mail Setup page. You need to enter your SMTP credentials to send emails from your site. If you don't want to setup SMTP now, you can skip this step and setup later from the admin panel.

If you want to skip SMTP setup, just click on Skip SMTP Setup button. Then you will see the popup message, click Skip SMTP Setup button to skip.

Installation Complete
Congratulations! You have successfully installed the script. Now you can login to your admin panel using the credentials you created earlier, or visit your site.

Your Bazaro Script is now installed. Log in with the admin credentials you created in Step 5.
cPanel Installation Steps
The installation of this script is super easy. If you can install normal PHP based scripts on your server, you can install our script. We will tell you how to install this script step by step on a server.
Creating Database using cPanel
Login to your hosting's cPanel and follow these steps to create a database and user.
Login to cPanel
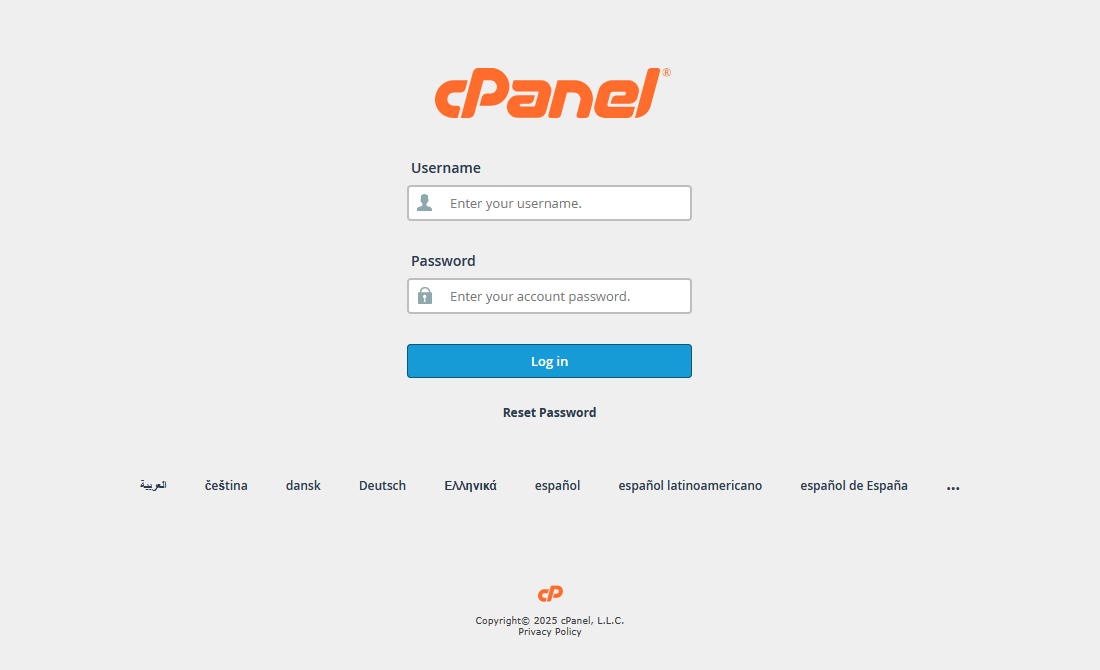
Login to your hosting's cPanel using the login information. You will see an interface like this:
Find the Database Section
Find the database section and create a new database.

Create a New Database
Add a database name and click on the Create Database button.

Go Back
After creating the database click on the Go Back button.

Create a Database User
Create a new user for the database. Add a username and password and click on the Create User button.

Go Back Again
After adding the user click on the Go Back button.

Add User to the Database
Now add the user to the database.

Grant All Privileges
Add all privileges to the user, then click the Make Changes button.

Uploading Files using cPanel
Use the cPanel File Manager to upload and extract the script files.
Open File Manager
Go to the File Manager section of your cPanel.

Navigate to public_html
Go to the public_html folder. This is the root folder of your website.

Upload the ZIP File
Upload the zip file of the script to the public_html folder.

Select and Upload Files
Select the zip file to upload it.

Wait for Upload to Complete
Please wait while the ZIP file is being uploaded.

Extract the ZIP File
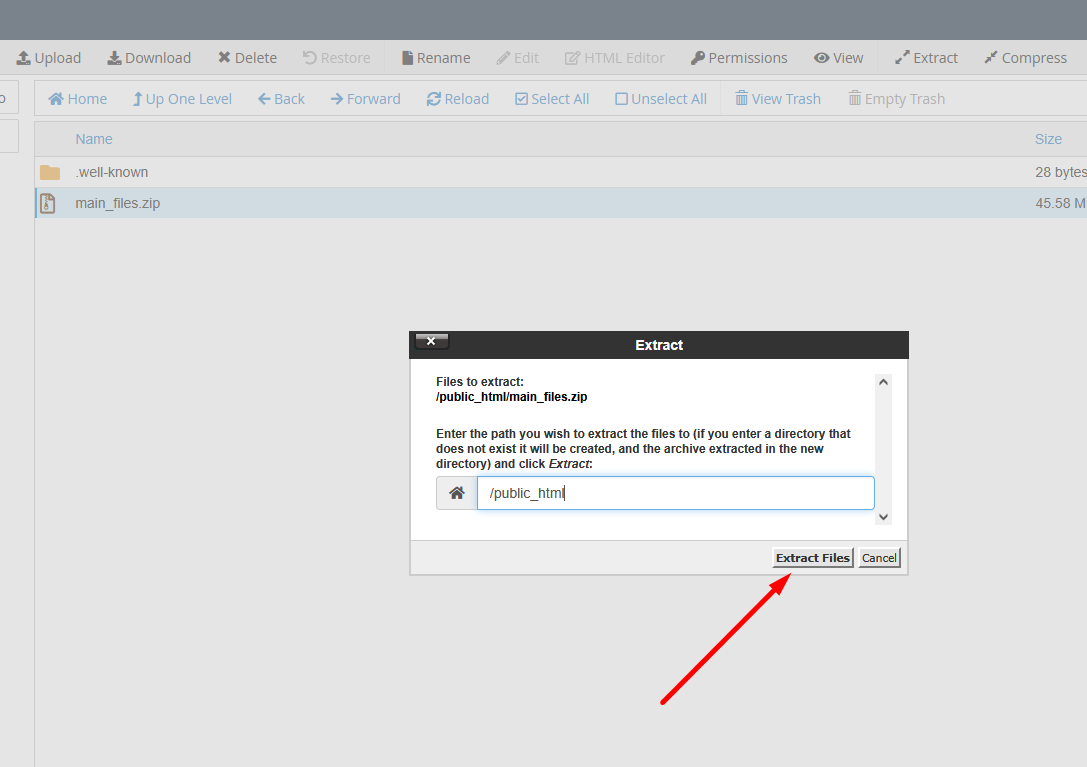
Right-click on the uploaded zip file and choose the extract option.

Confirm Extraction
Tap the Extract Files button to extract your files.
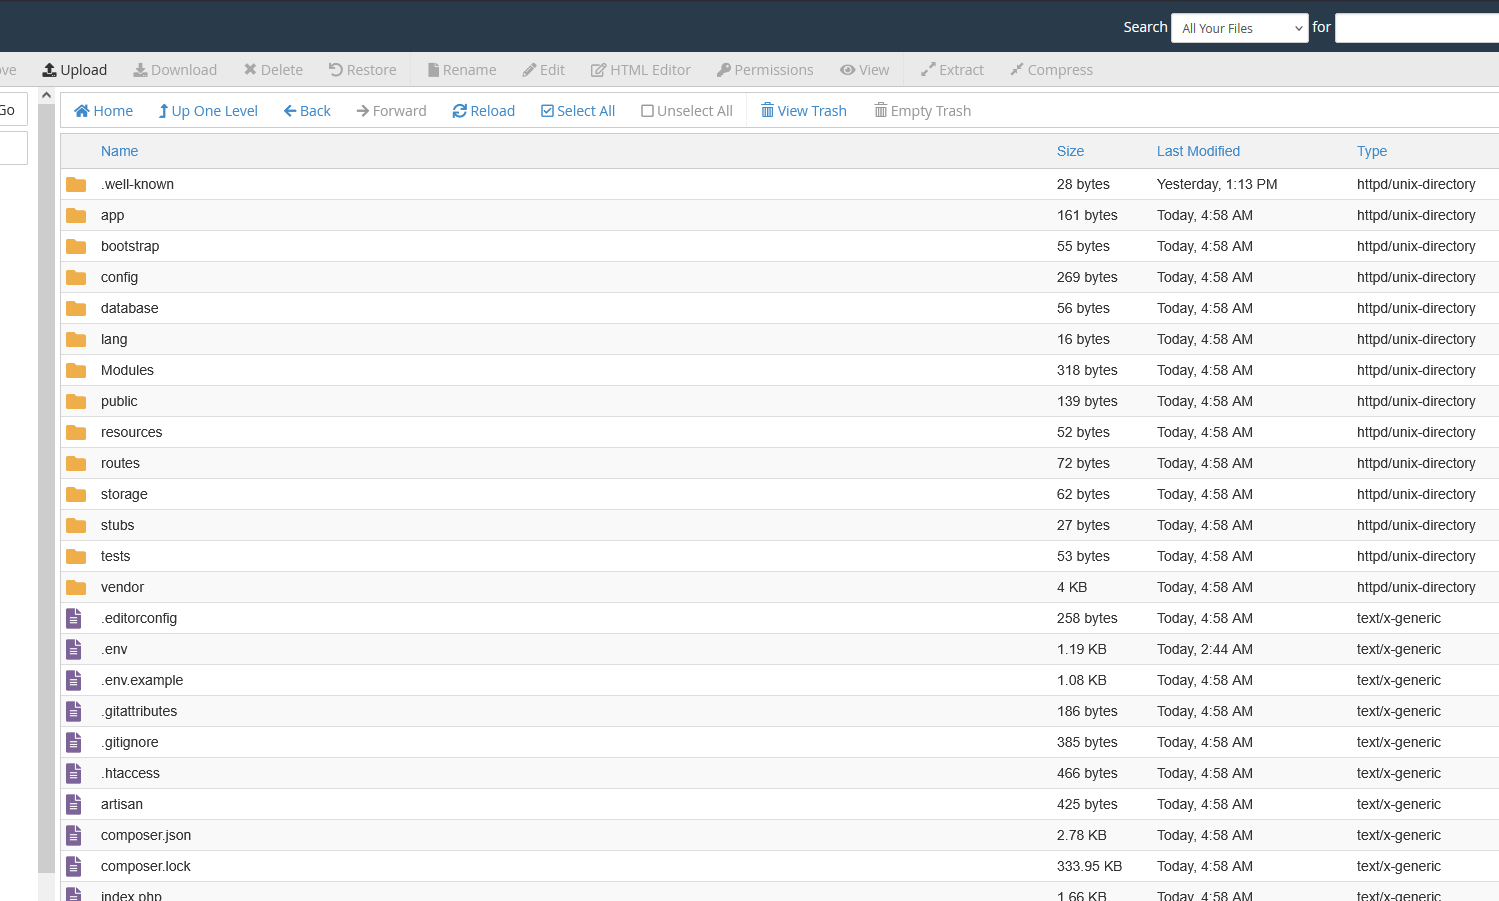
Verify Extracted Files
After extracting, you will see all the files inside the public_html folder.
Running the Installer (cPanel)
After uploading files, the installer steps are exactly the same as the local installation. Go to http://your_domain.com and follow Steps 1–8 from the Running the Installer section above.
Your first dashboard
After installation completes, you'll be greeted by the admin dashboard: